In previous versions of Azure Functions, writing to Azure Blob Storage from an Azure Function was complicated. However with Version 3 of Azure Functions it couldn't be more simple. This article shows exactly how it is done using C#, DotNet Core 3 and Visual Studio 2019.
Even though it's simple it took me a bit of time to work out how to do it as the Microsoft explanation of this subject is a bit confusing. In addition, there are a lot of articles that explain how it is done in previous versions of Azure Functions, but I couldn't find any for how to do it in Version 3.
Create Azure functions project in Visual Studio 2019
- create a new project selecting Azure Functions C# as the template
- give the project a name and click Create
- select Http trigger (as the trigger type) and click Create.
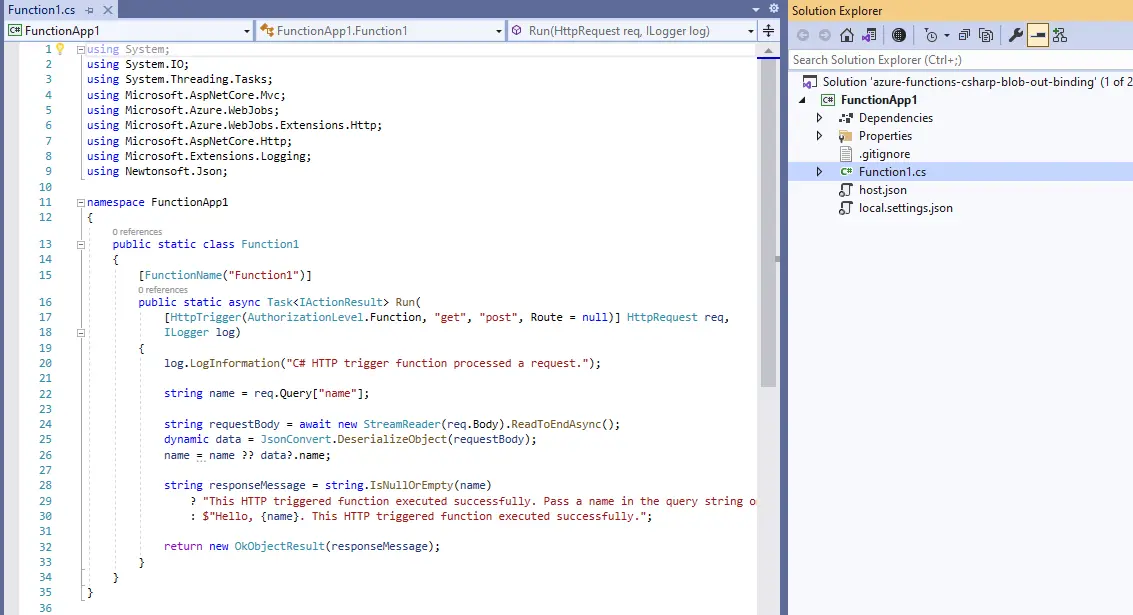
You should see the following:
Add storage Nuget package
- select Manage Nuget Packages
- click on the Browse tab
- type "Microsoft.Azure.Webjobs.Extensions.Storage"
- select the package
- click Install.
Add the storage output binding
Amend the signature of the function so that it includes an output binding to Storage, by replacing the existing code with the following:
[FunctionName("Function1")]
public static async TaskRun( [HttpTrigger(AuthorizationLevel.Function, "get", "post", Route = null)] HttpRequest req,[Blob("outputdemo/{sys.utcnow}.txt", FileAccess.Write, Connection = "AzureWebJobsStorage")] Stream outputFile,ILogger log)
- it will write to a container called "outputdemo". This will be created if it doesn't already exist.
- the file name will be the current time (sys.utcnow) with a ".txt" extension
- "FileAccess.Write" means its an output binding
- the storage connection used is the default storage connection which gets created by the Visual Studio template. Out of the box it is set to write to the Storage Emulator. You can use Microsoft Azure Storage Explorer to view it.
Add code to write to storage
Add the following code block just before the final return statement:
UnicodeEncoding uniencoding = new UnicodeEncoding();string messageToWriteToFile = "Message from " + name;byte[] output = uniencoding.GetBytes(messageToWriteToFile);await outputFile.WriteAsync(output, 0, output.Length);
Test the function
Test the function in the following way:
- Run the function using F5
- Bring up a browser window
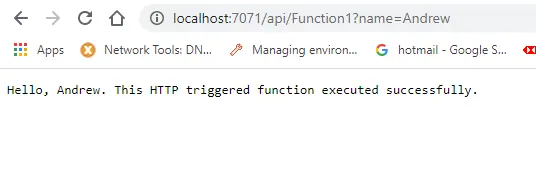
- Enter the following url "http://localhost:7071/api/Function1?name=Andrew"
You should see the following returned from the browser
You should also be able to see the following in Azure Storage Explorer:

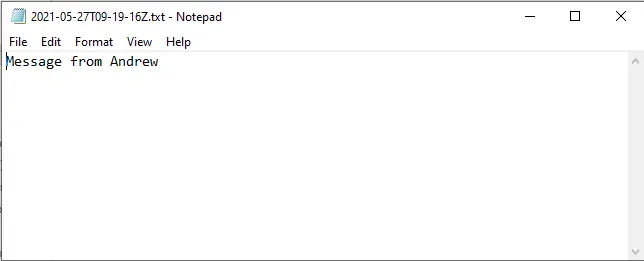
Now double click on the file and it should download. You should then be able to see the following if you view it in Notepad:
That's it. We wrote a file to Azure Storage using an Azure Function. You can download the finished project on github if you need to.